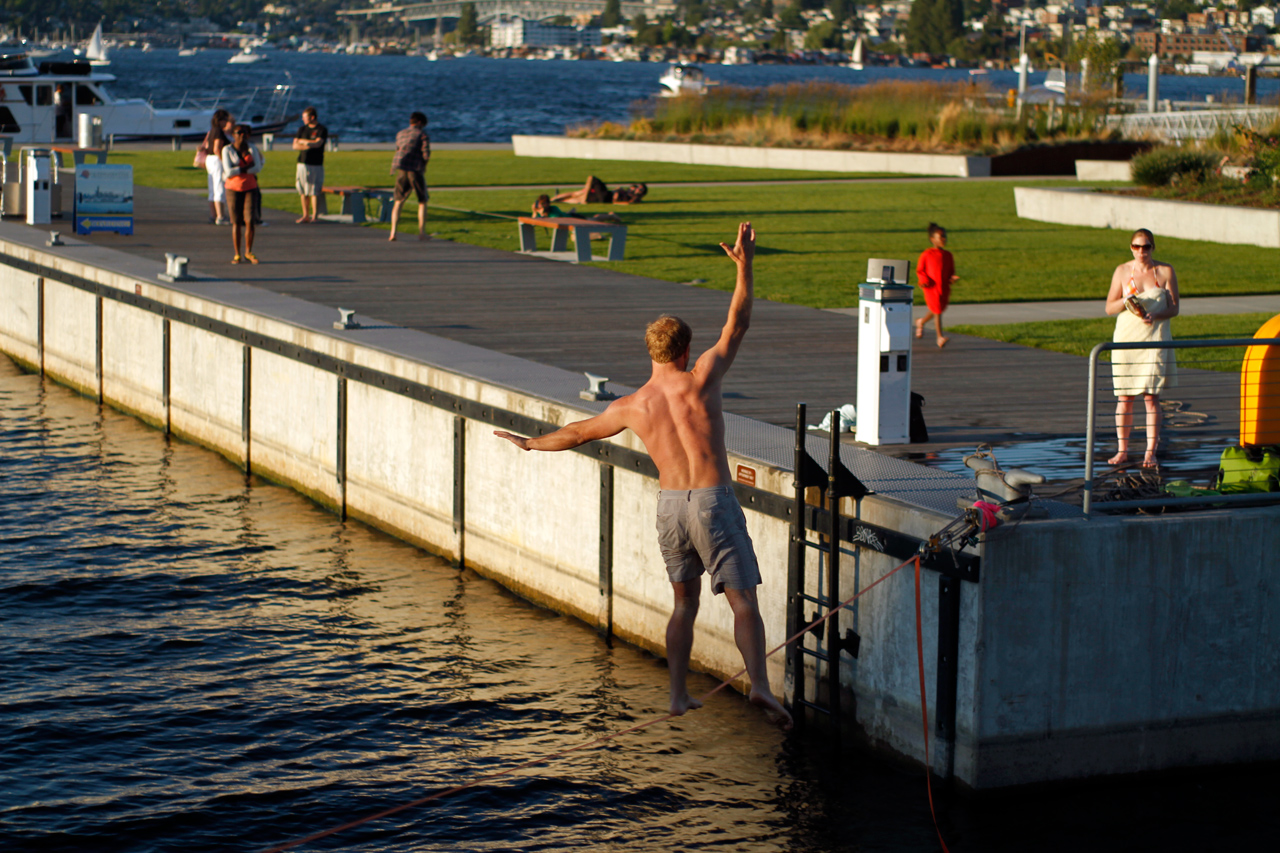
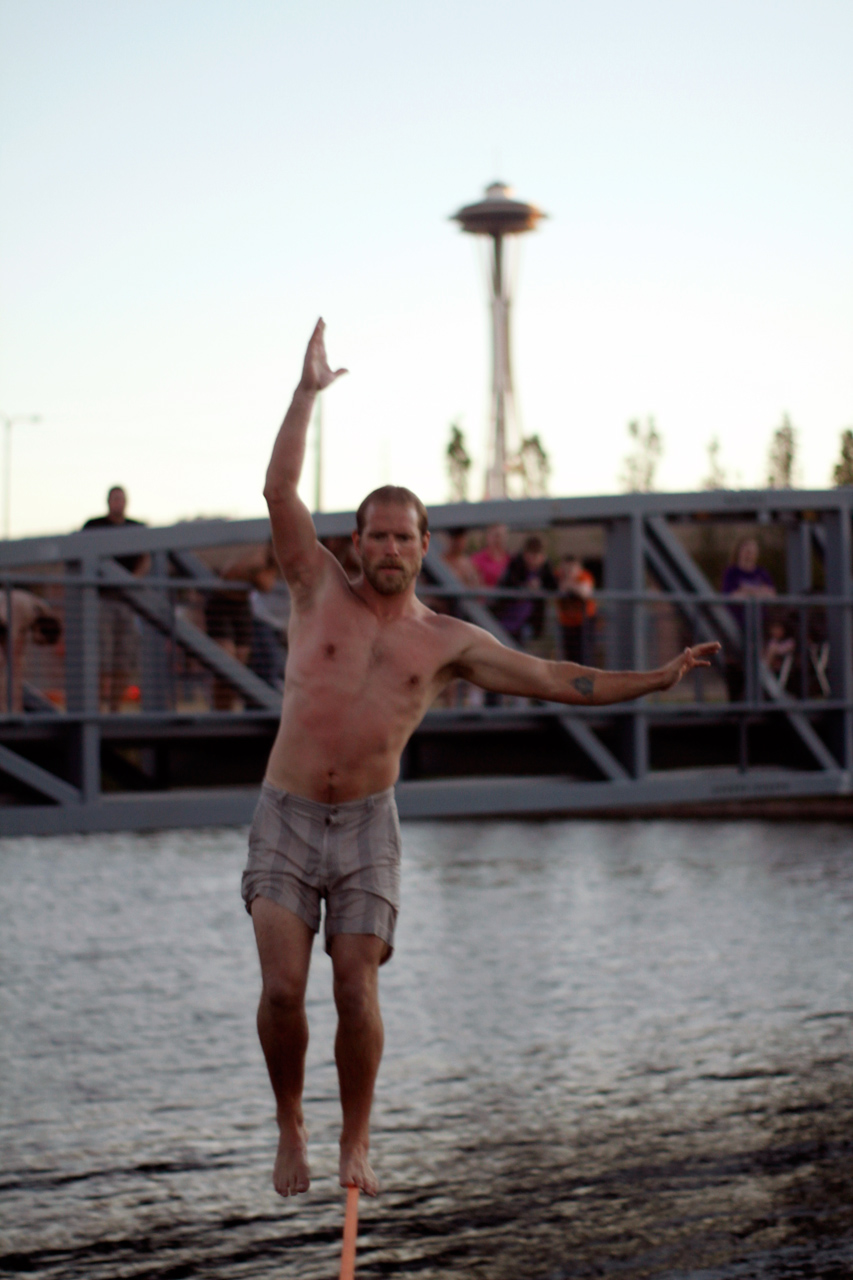
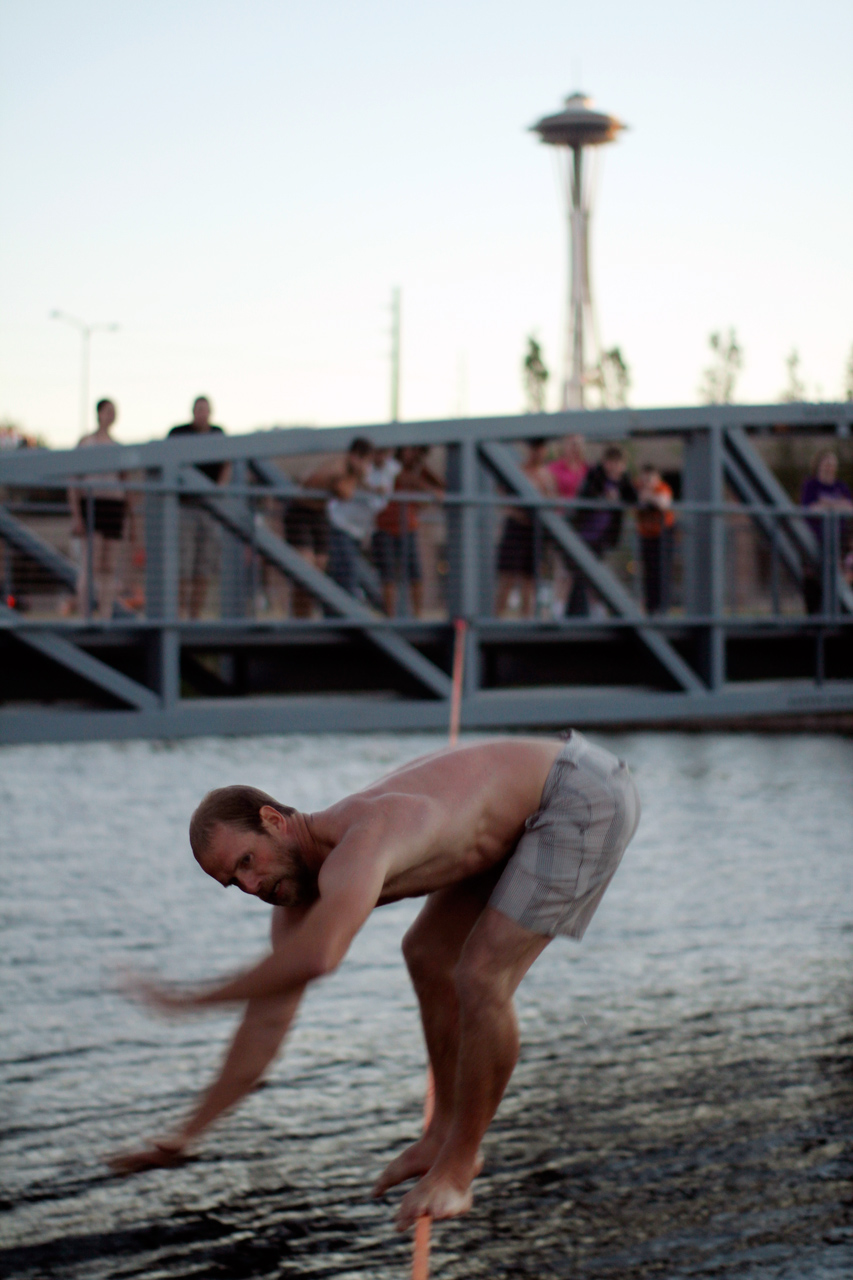
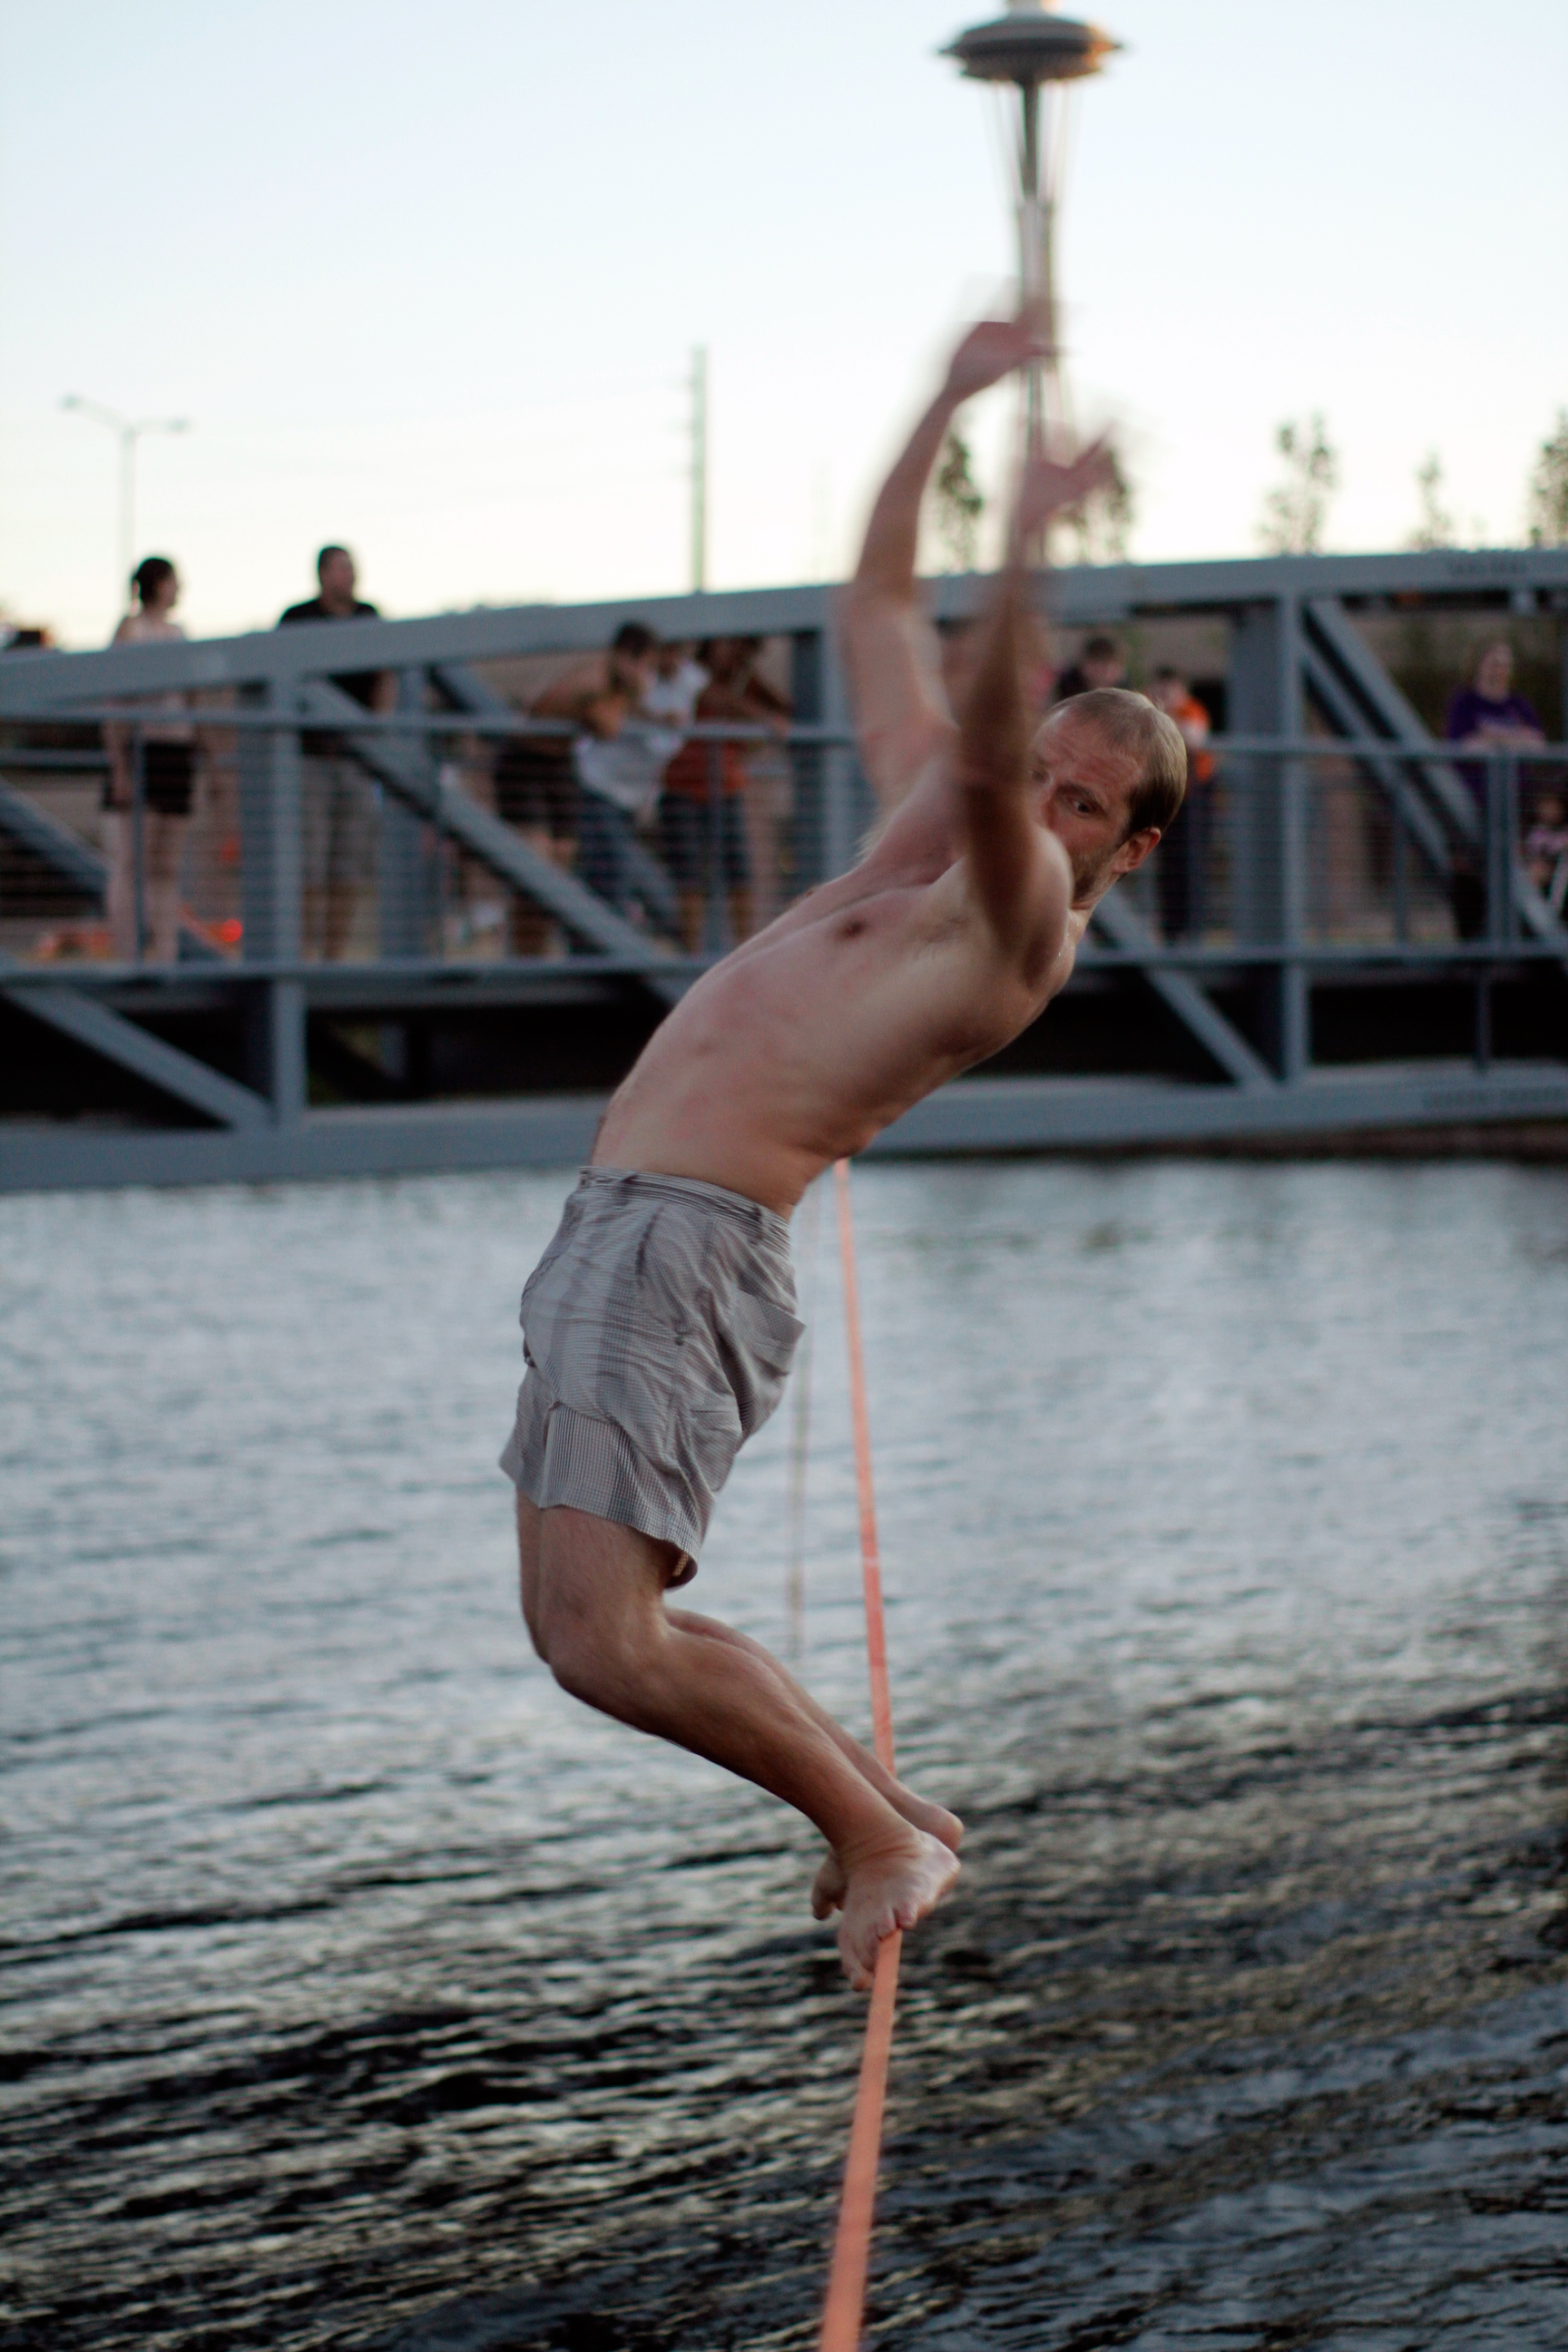
Waterline on Lake Union
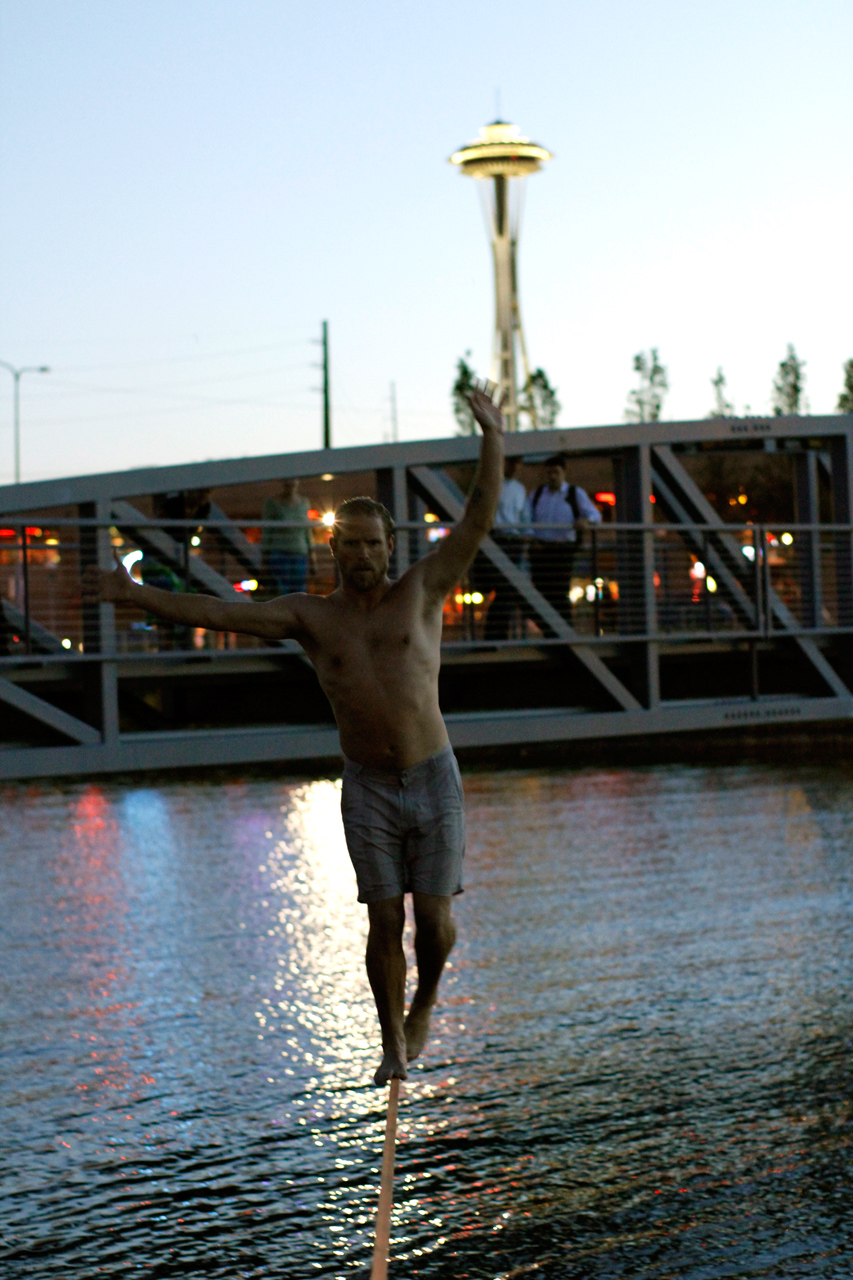
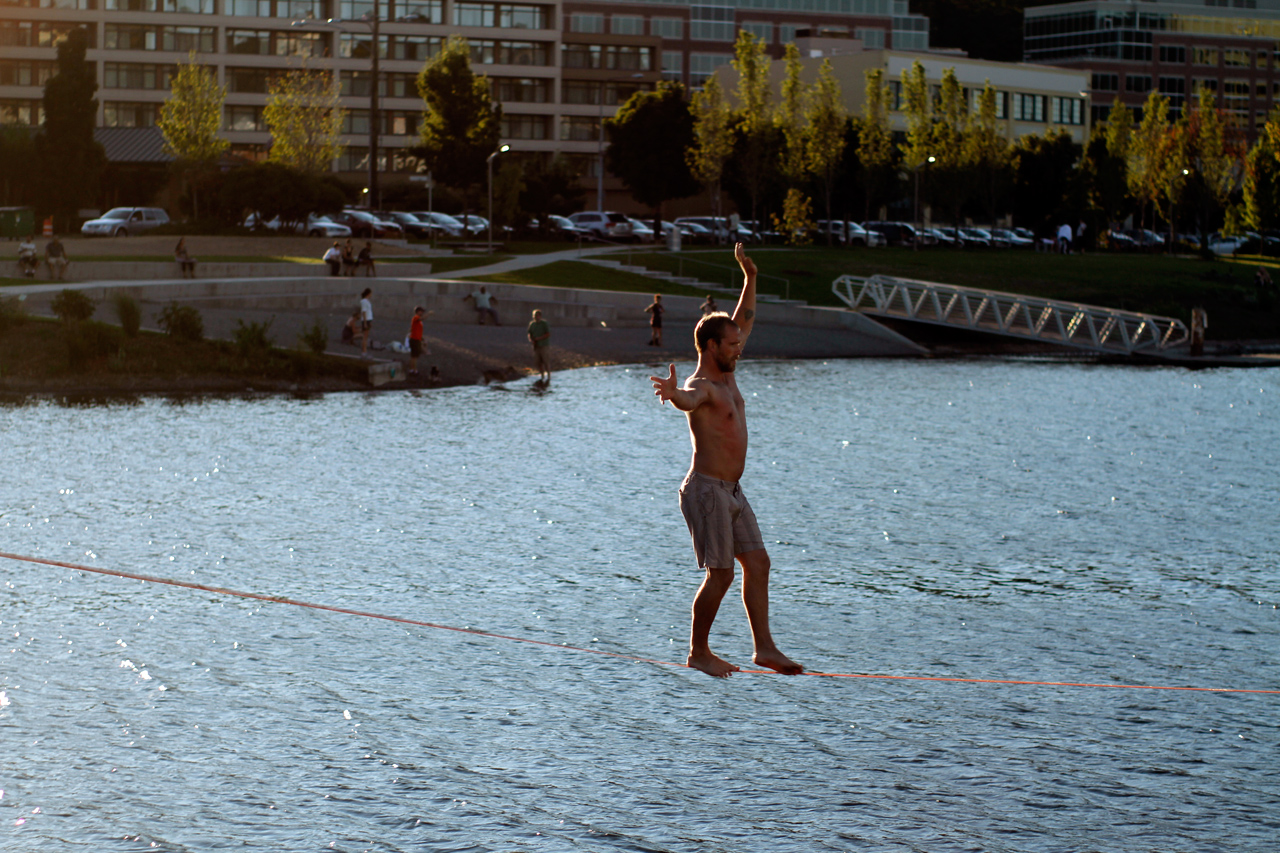
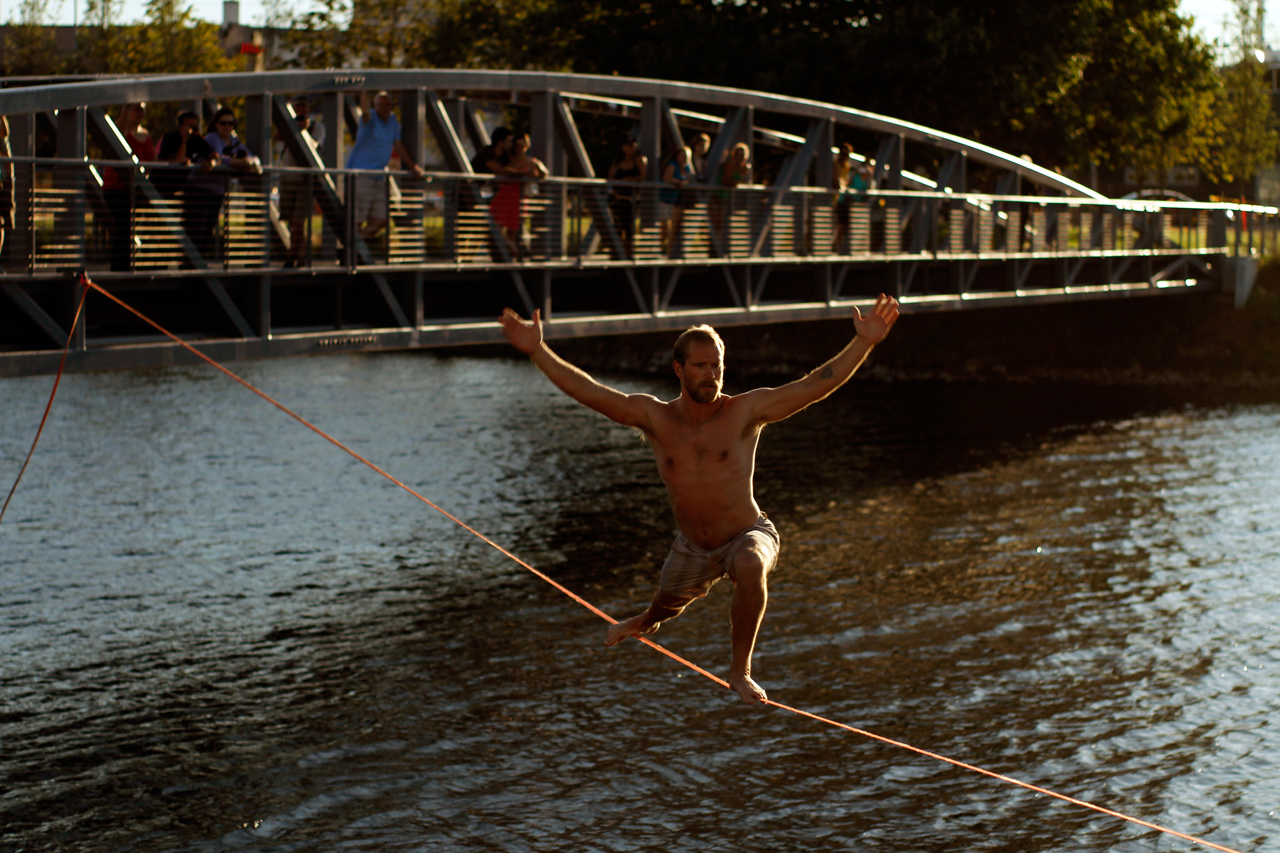
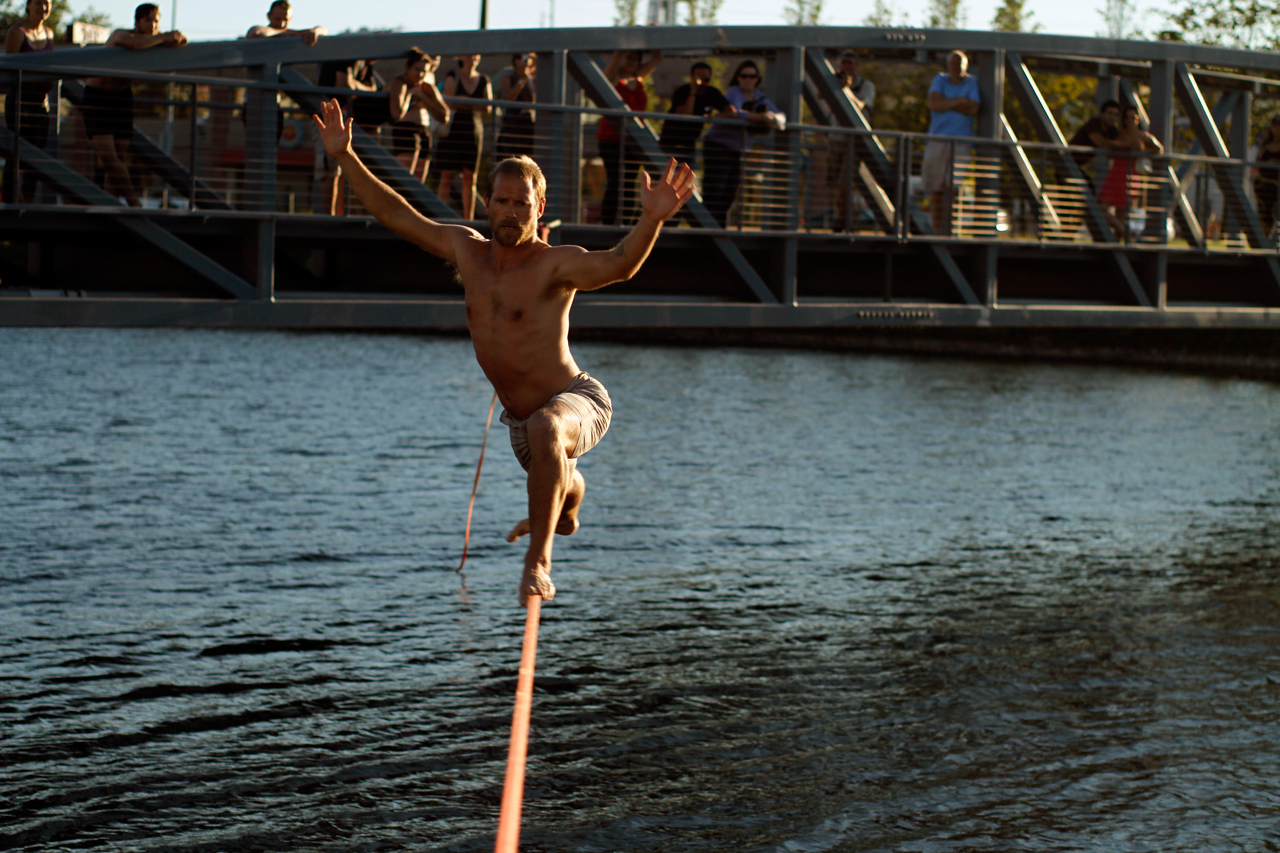
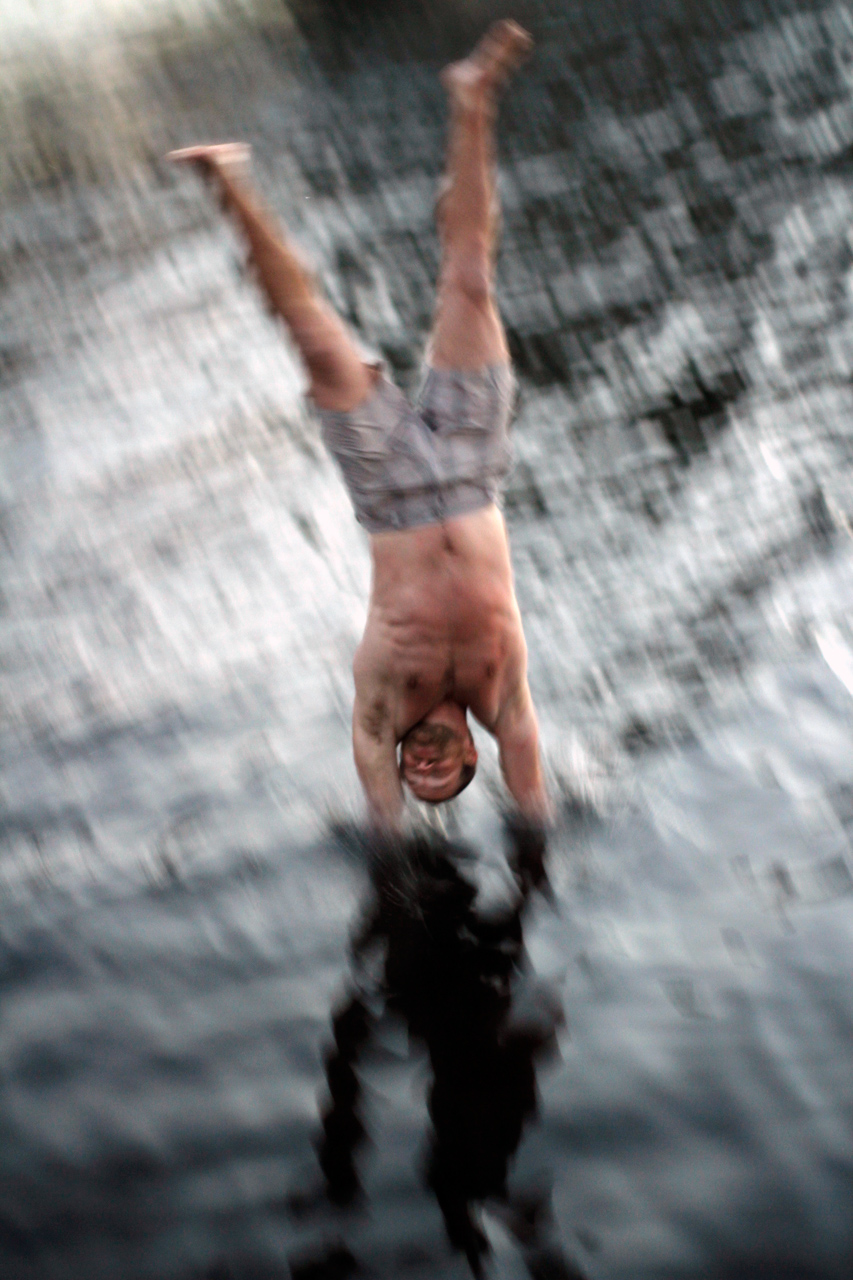
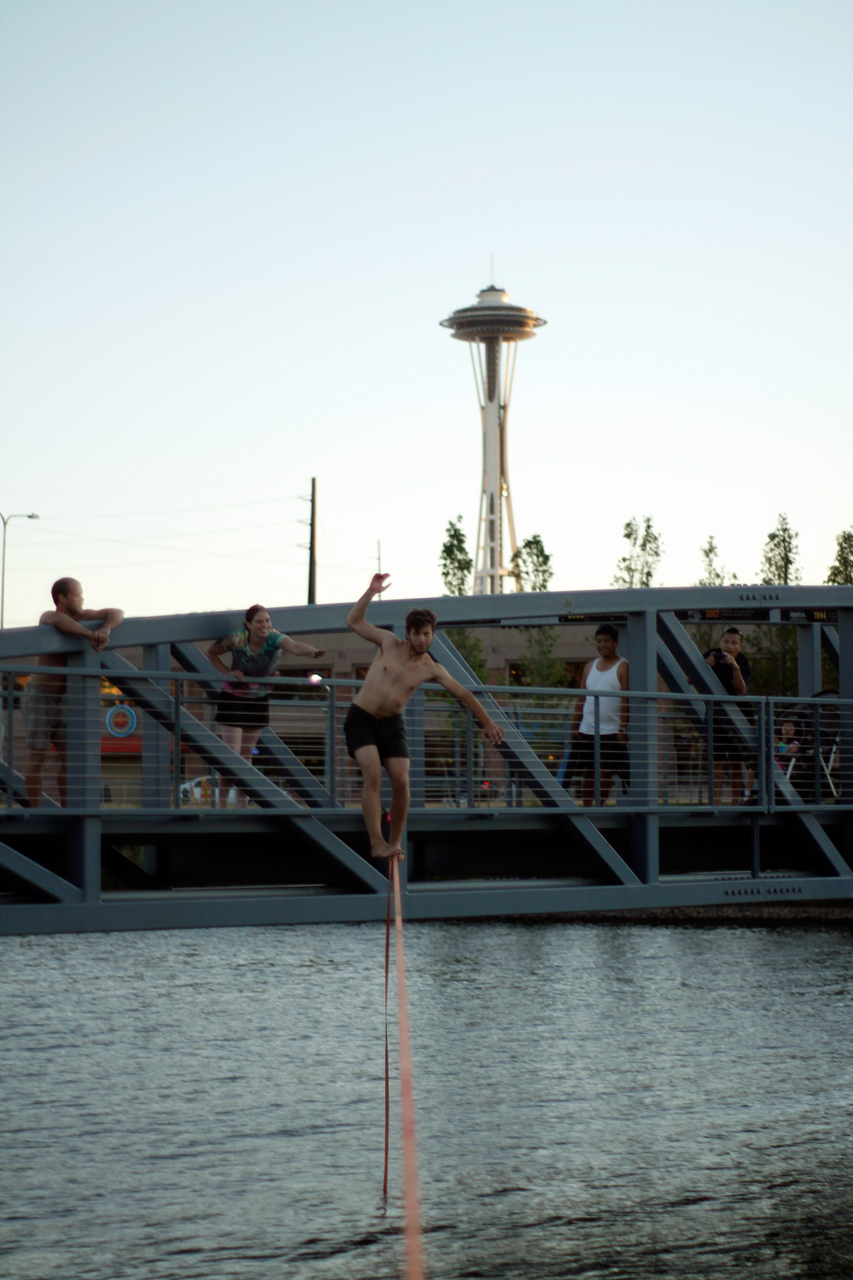
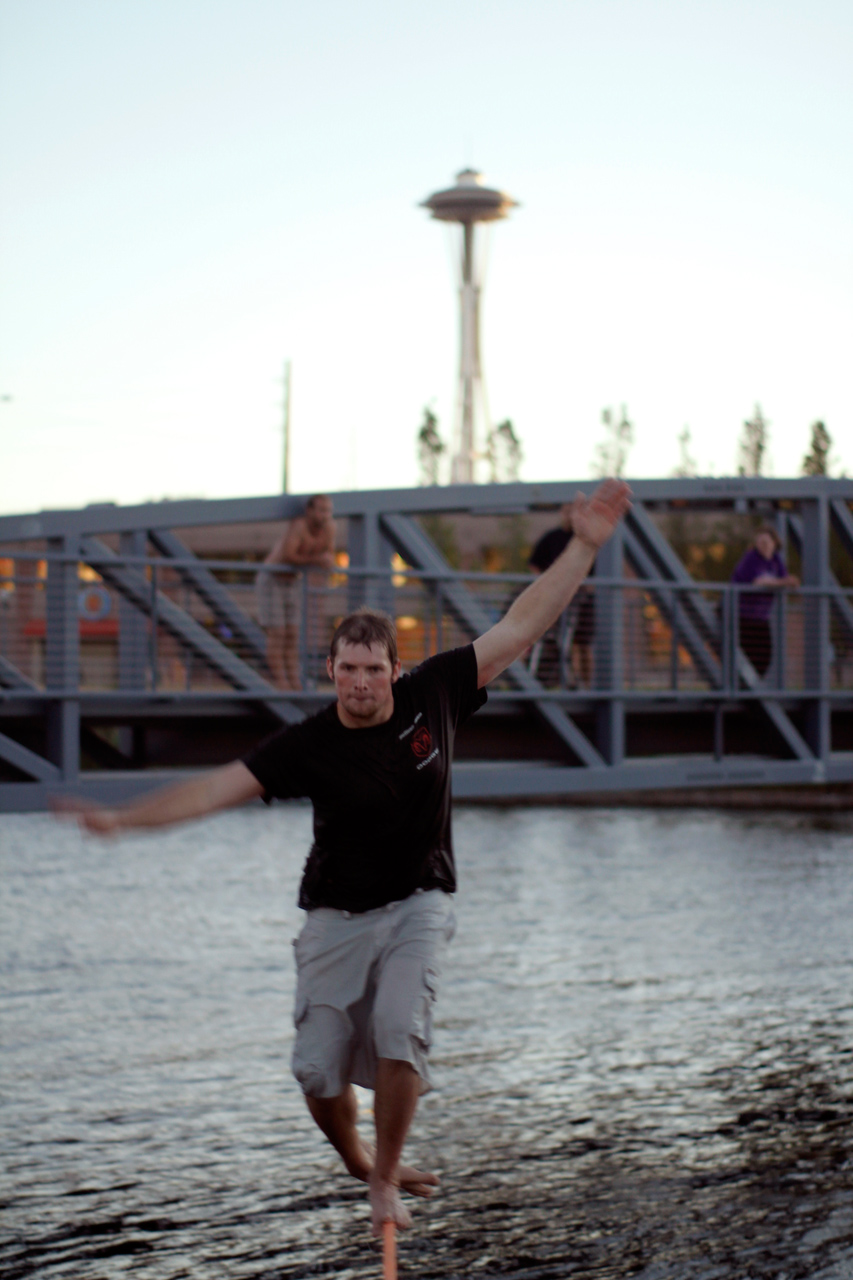
August 27 and 28 we rigged a 70ft slackline between the footbridge and the cape that makes up much of South Lake Union Park in Seattle. Probably a dozen or so different slackers came out, plus a few folks gave it a shot despite never having slacklined. Overall, this line far exceeded my expectations. Between the cool weather of this summer, and the murkiness of the water, I’d expected falling off the line might not be that much fun. The water was great, however, and after their first fall most slackers seemed to find a calming of the nerves and significant progress in tackling the line.At 70ft, made of Type18, and with around 700-800lbs of tension the line was fun but challenging for most to walk. The distraction of the water and flow of adrenaline were the two biggest obstacles, although the adrenaline at least seemed to calm down after the first fall or two into the water.
Click through to the full post for a short gallery and rigging beta…


Rigging beta:
The footbridge is a multi-hundred-foot long span made of giant box-tube steel, and thus makes a great anchor for the line (and the box tubes are rounded on the corners, so the slings need no padding). A five foot sling is perfect for wrapping the large box tube. Five feet will wrap it twice — just barely — so I use two 32KN rings and a steel carabiner in a method similar to this. If you wrap the tube at the pedestrian level of the bridge, the line will be easier to step out onto, but also not perfectly level with the dock. Because the bridge side will be higher (unless you wrap the tube at the bottom of the bridge), the step-out zone will have approx an 8ft fall into the water (somewhat intimidating), versus the 4ft fall on the dock-side.
 The dock-side of the line is rigged to the southern-most cleat (big metal thing used for mooring boats). After scoping this location many times over a period of several months, and never seeing a boat docked near the southern end (it would have to be a tiny boat), plus with mooring by “appointment only” and knowing that the bridge itself makes boats going this direction an impossibility, we decided it was safe to rig this line here. Over five riggings we have now fielded zero complaints (from pedestrians or boaters), and in general everyone loved the line (onlookers have even stopped me to say thanks for rigging such an interesting spectacle!). The southern-most cleat is an especially burly one, and will require at least a four-foot sling. Using a five-foot sling (or longer) will put your gear out over the water. I have now custom-made a 4’2″ sling that (in the method described above) terminates (when rigged basket config) just over the dock. If you are super into safety I would pad either the sling or the concrete edge to avoid cutting of your webbing, although with the tension we have used I have yet to have anything rub (buttbounces and other dyanmic tricks might). Unless you soft-point the rigging side, you will have a couple feet of pulleys or other gear out over the water (making stepping off the line onto the dock an impossibility). We chose to use a pulley system to tighten the line. For the line we used Type18 on the first rig (which is the only one in the video), but standard slackline webbing works too. For standard webbing, we used 62ft of webbing (from locker-to-locker) with around 8-9ft of stretch, and this is now being rigged one column to the right (west) of the places shown in photos to allow a little more length and an easier step off from the bridge (previously you had to squeeze through a small nook).
This line could be rigged with a “primitive” setup as I’ve described it, but it would be difficult to do so without getting the line soaking wet in the process (making it slippery and less strong). We elected to use pulleys so as to keep the line and all the gear dry during the rigging. One additional option would be to use the bridge-side as the rigging end, which would allow slackers to walk out from the dock (lower, less intimidating). Unfortunately, this would involve possibly annoying pedestrians on the bridge during the rigging, plus would have little room for several people to pull on a rope at once, so we decided against it. Lastly, I’ve now rigged this with a softpoint (pulley system removed), so the pulleys-by-the-dock stuff is no longer an issue, but it is very taxing to walk out from the dock-side because of some shallow water on one side that would pose a risk of injury if a fall was sustained in the first three feet of walking. Our first day’s rigging took about 45-60 minutes, day two took around 25-30, and without prepping the gear ahead of time it takes about 20 minutes now to rig it. Unless you measure and prep everything ahead of time, three people + pulley system is the minimum requirement for rigging this while keeping all the gear dry. With prep in advance, perhaps two people could do it. I can think of a way I could rig it all by myself, but it would be a major pain and take a long time.
No comments yet... Be the first to leave a reply!